Difference between revisions of "WEB PAGE GFMS"
| Line 52: | Line 52: | ||
[[File:pros3.jpg | 400px | border ]] | [[File:pros3.jpg | 400px | border ]] | ||
| − | Users are allowed to select as many timesteps as the system is storing for each [[PRODUCTS | product]]. Nonetheless, depending on the size of the request data package, user might be redirected to a ftp in order to download it as a single compressed file. | + | Users are allowed to select and eventually download as many timesteps as the system is storing for each [[PRODUCTS | product]]. Nonetheless, depending on the size of the request data package, user might be redirected to a ftp in order to download it as a single compressed file. |
When clickling on a specific AOI, the platform will show the whole list of all the available [[PRODUCTS | product output layers]]: <br> | When clickling on a specific AOI, the platform will show the whole list of all the available [[PRODUCTS | product output layers]]: <br> | ||
Revision as of 15:07, 8 June 2021
Users will access this application hosted on the GloFAS website.
Login
TBD
Draw/Select an AOI
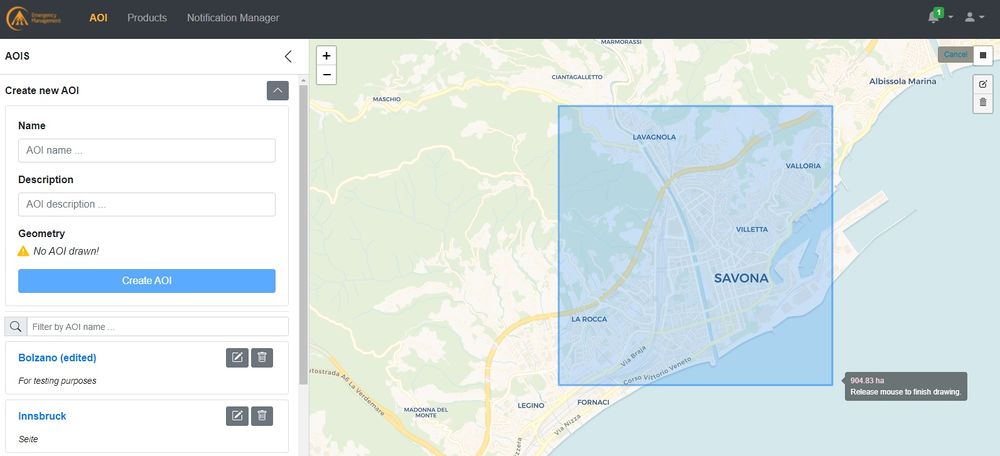
The AOI dashboard display a set of button and menus allowing the user to create and manage his/her areas of interest.
To create an AOI, click on the icon in the top-right corner of the map [dark grey square]
and draw a rectangle over the area you want to retrieve flood information about.
Once done, the system will update showing the following message
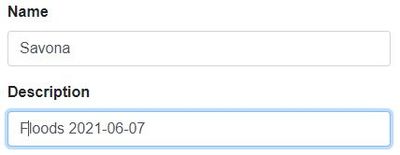
Then fill up the form with a name and a description (optional)
and save the AOI pressing the button CREATE AOI
The system will then add this AOI to the list below if other AOIs have been drawn before.
Through the buttons
users can further edit (pencil-like icon) or delete (bin-shaped icon) each AOI of the list.
When editing, users may change the rectangle dimensions or to drag it rigidly (i.e., not chnaging its shape) across the map.
Product selection
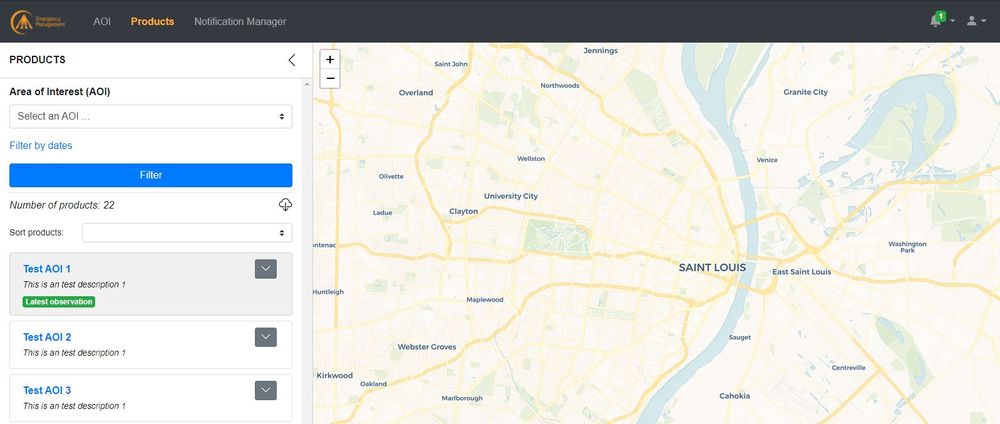
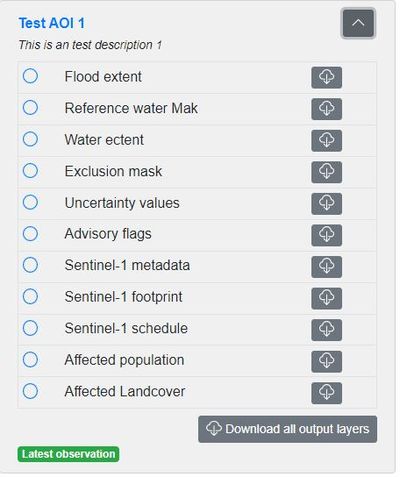
Once the AOI has been drawn/selected the system will automatically display the latest available dataset for each of the 11 product output layers.
AOIs might be searched through the text box or by scrolling down the list (if other AOIs have been drawn before).
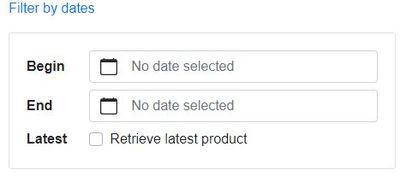
By default, the system displays the latest available product output layers, yet users may request previous versions of them through the FILTER BY DATES button
Users are allowed to select and eventually download as many timesteps as the system is storing for each product. Nonetheless, depending on the size of the request data package, user might be redirected to a ftp in order to download it as a single compressed file.
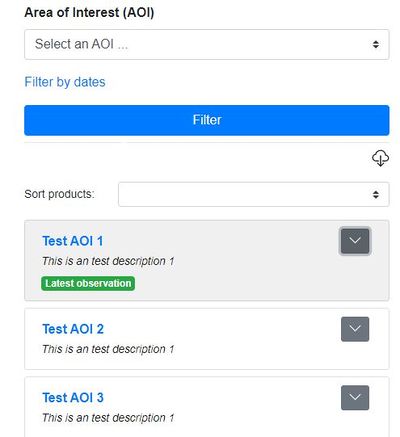
When clickling on a specific AOI, the platform will show the whole list of all the available product output layers:
user may choose to download them all in bulk or to pick amongst them by ticking the checkbox on the side.
Notifications
For each AOI, the Users can activate push notifications.
To do that, Users have to click on the AOI/AOIs they would like to be notified on: the system will open a dialogue window where they can choose to be notified:
- in their mailbox
- through their Twitter account
[CAPTURE]
Moreover, as they access the application with their account, the number of new notifications since the last access will appear next to the <ICON>
to interact with the GFM service, which are easy to be integrated in existing emergency platforms and situation rooms (see section 2.4.5.1 Highly customizable single page web applications).


